Getting a Livestream Started
Once you have scheduled a livestream, you can go live! (If you need help scheduling a livestream, check out our guide here.)
Starting a Livestream
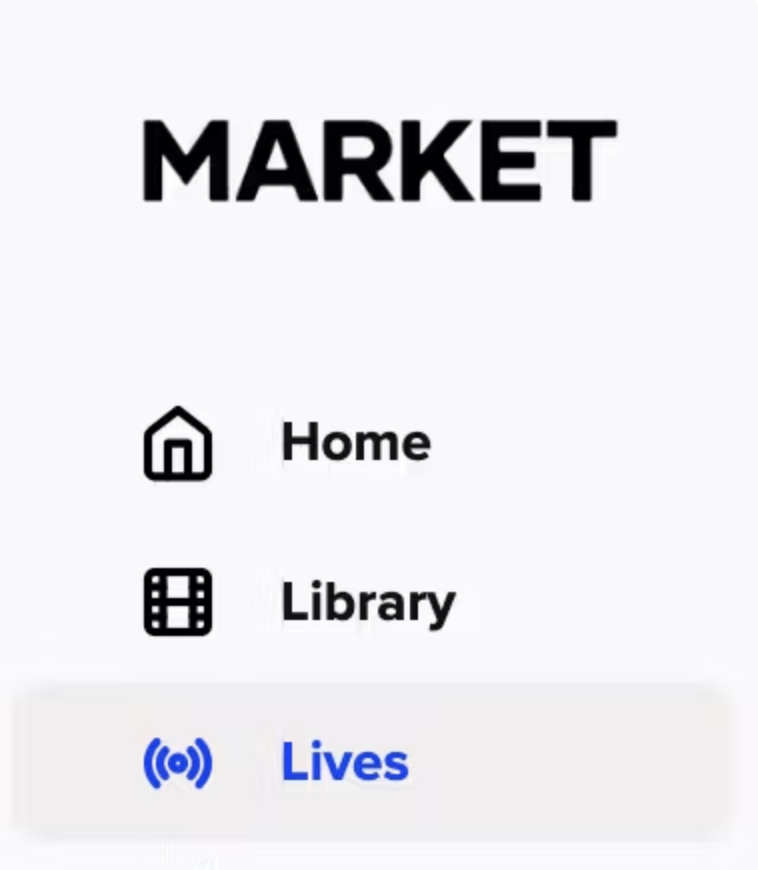
To start a live, click into the Lives section on the left-hand menu from your main screen.
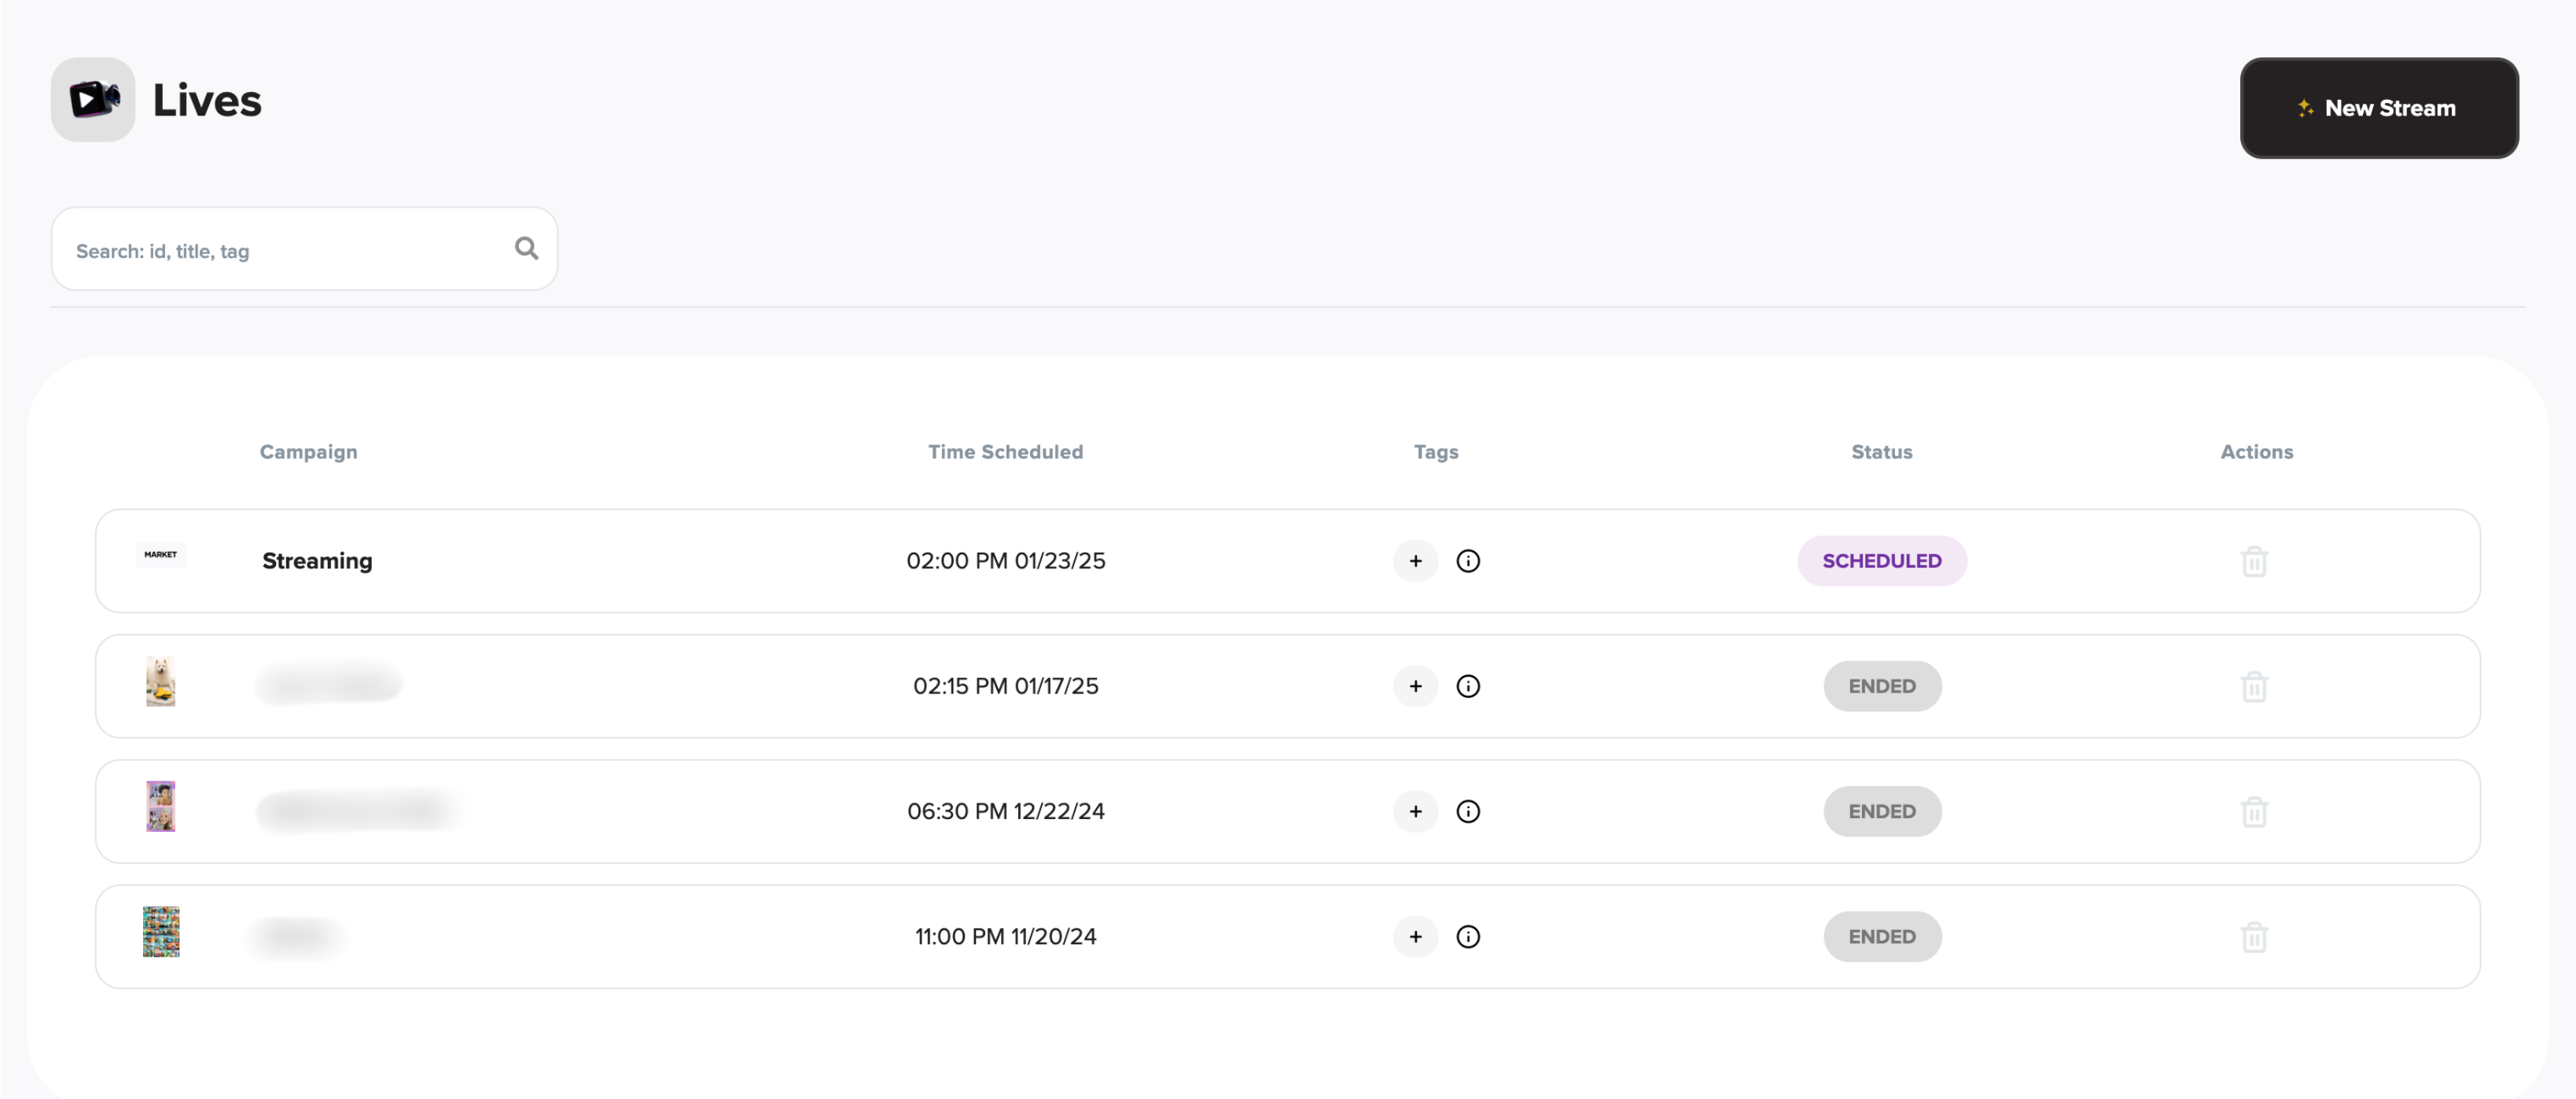
Select your scheduled livestream from the section that appears. All you have to do is click on the title you gave it!
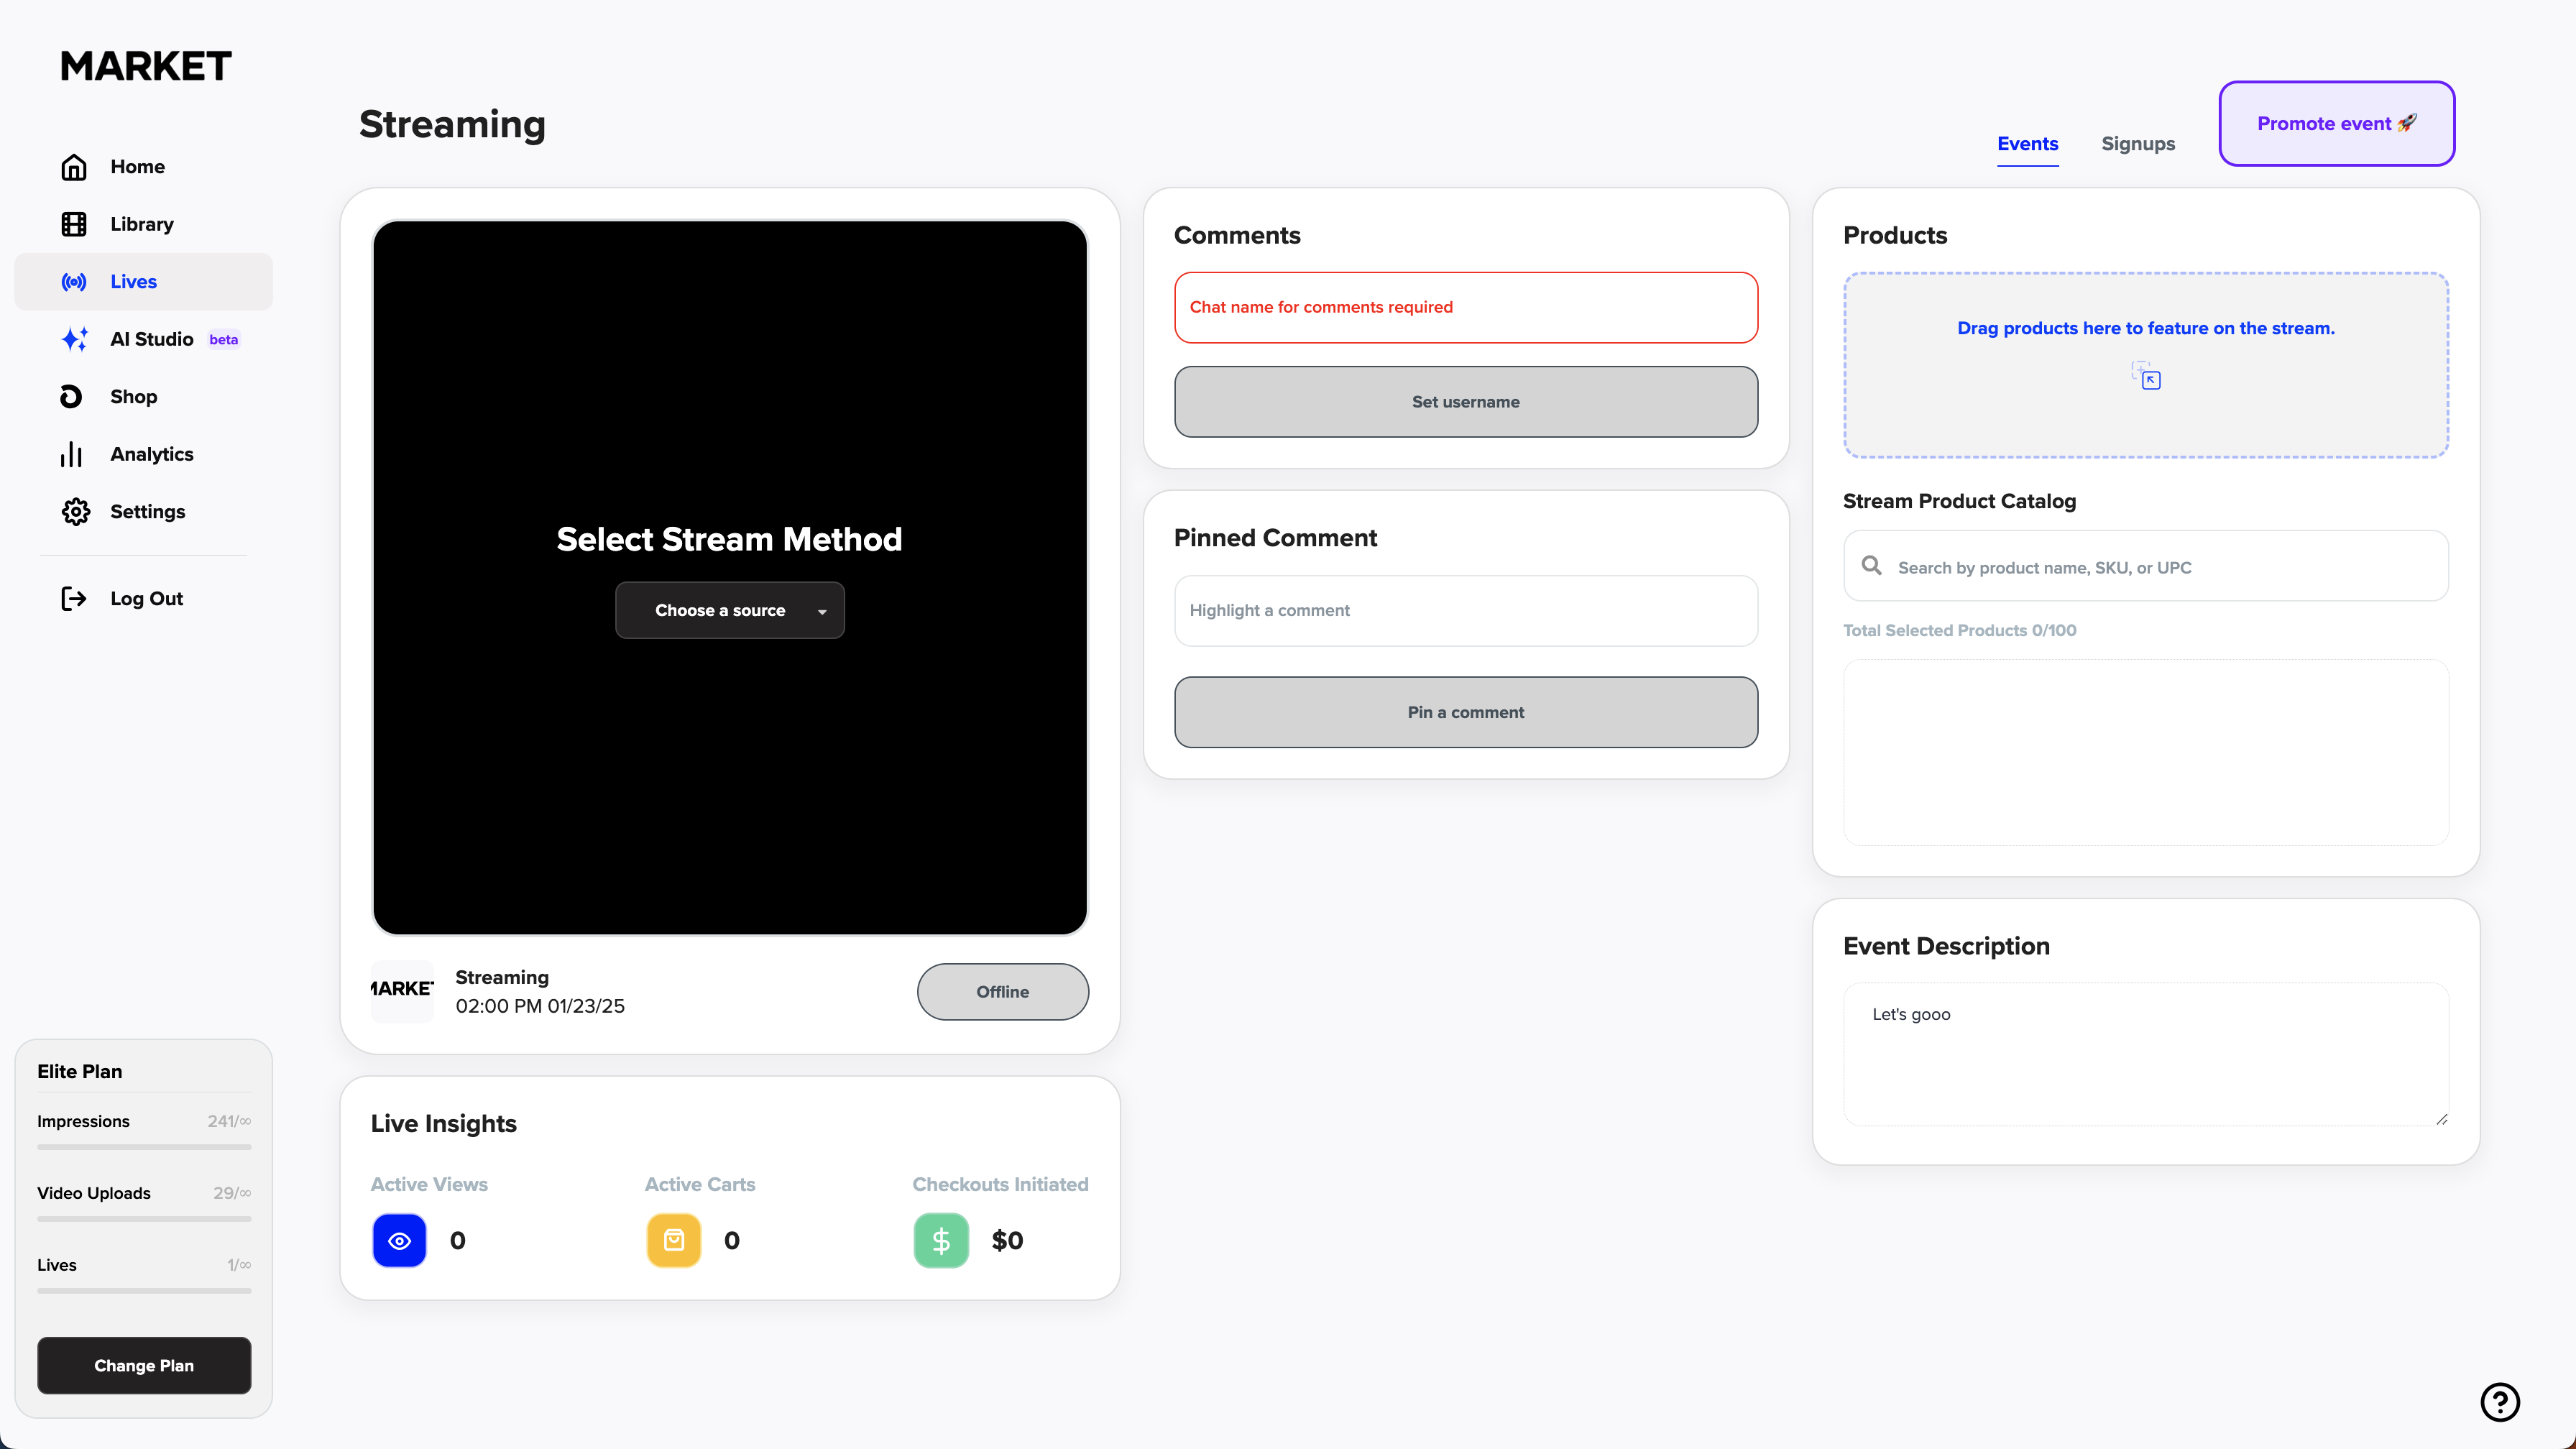
The Streaming Screen
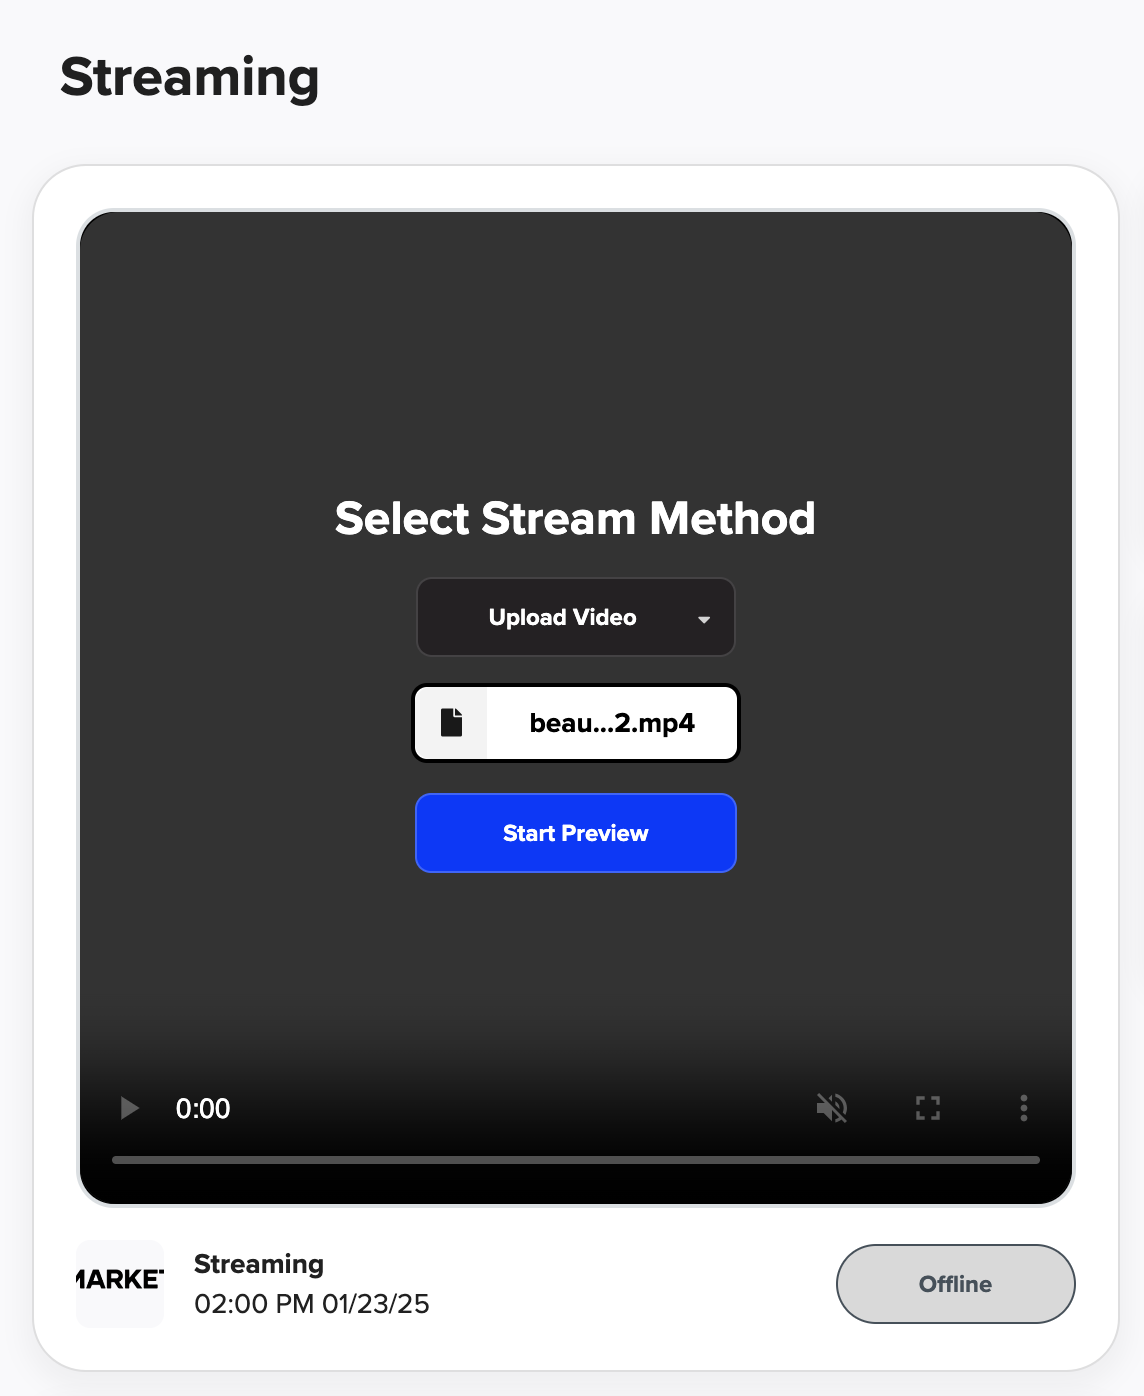
Once you click into your scheduled livestream, you'll be taken to the screen pictured below. There's a lot of information here, but don't worry! We'll break it down for you.
Selecting Stream Method
Upload Video
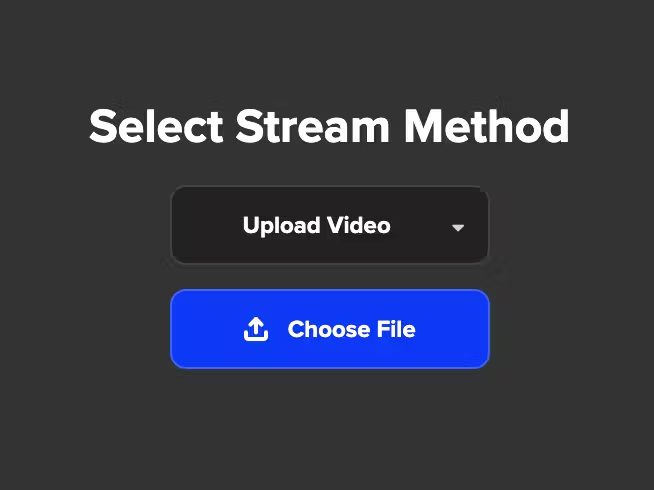
If you select Upload Video, you'll be asked to choose a file from your device to upload. Click Choose File and your folders or Finder (if on Mac) will open up for you to select your file.
Upload Past Live
If you select Upload Past Live, you'll be asked to choose a file from your device to upload. Click Choose File and your folders or Finder (if on Mac) will open up for you to select your file.
Start Preview
Once you've selected a method of streaming, you'll be shown a button saying Start Preview.
💡 Quick Tip: Only select this when you are ready to go live!
Have more questions? Reach out to our support team - we’re happy to help!
Happy selling! ✨